Introduction
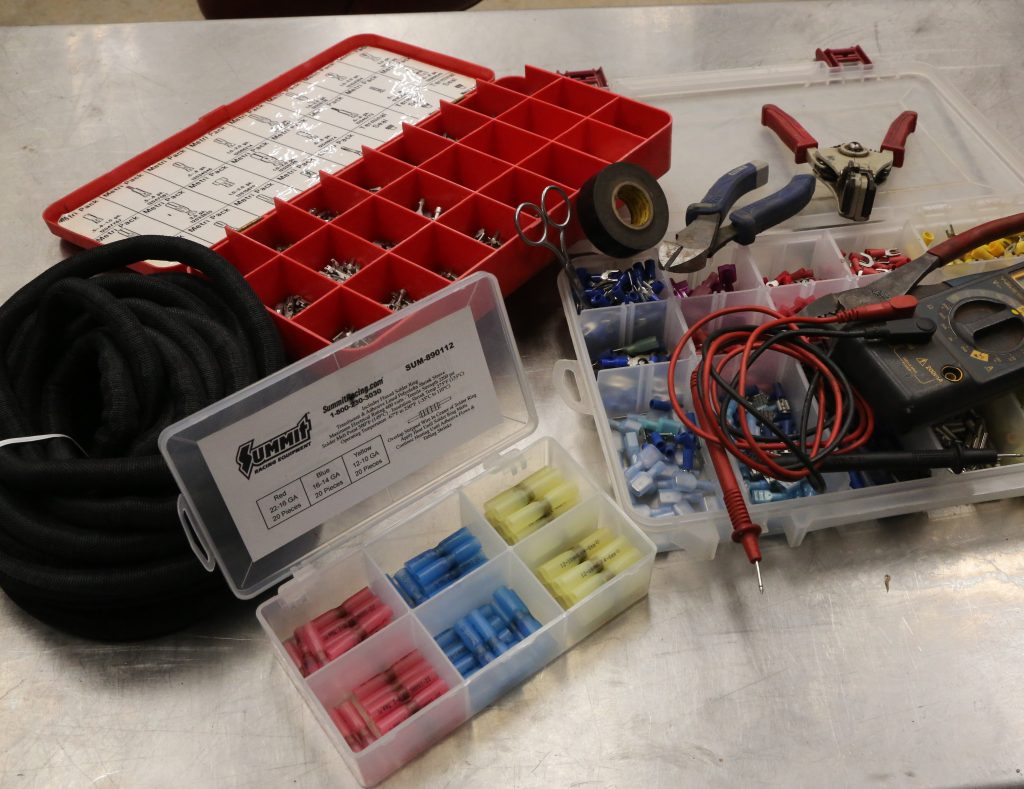
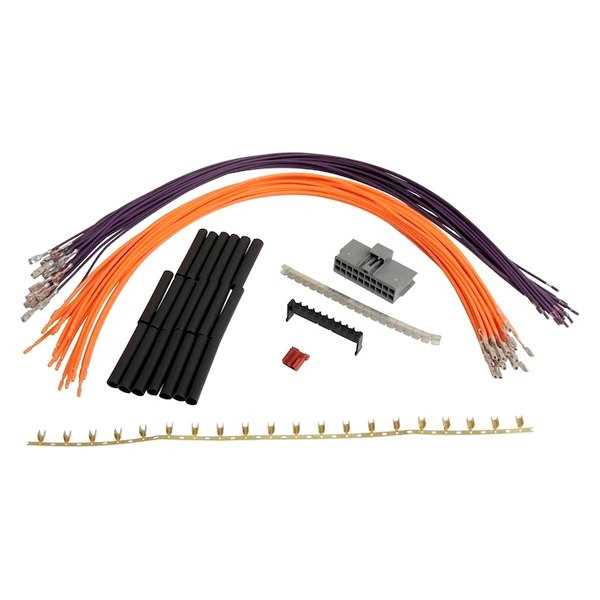
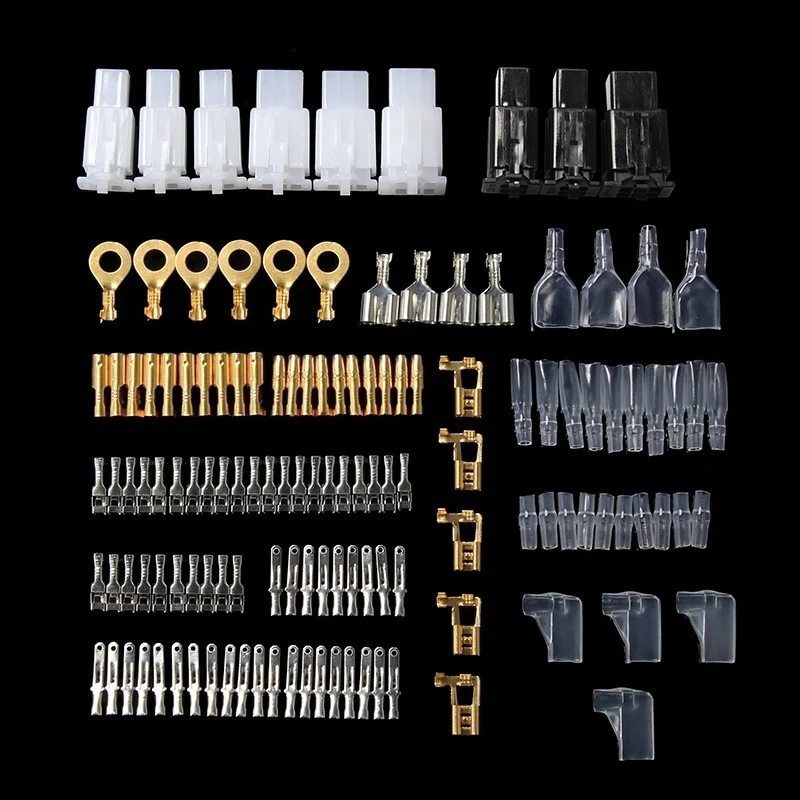
An auto wire repair kit is a comprehensive collection of terminals, connectors, heat shrink tubing, and specialized crimping tools engineered to restore damaged automotive electrical circuits to factory integrity. According to SAE J1128 automotive wiring standards, low-tension primary cables must maintain precise cross-sectional conductor area and environmental sealing to prevent high-resistance failures in 12V and 24V vehicular environments. Properly executing a repair requires cross-referencing accurate Vehicle Wiring Diagrams to ensure correct wire gauge and circuit isolation before applying any mechanical splicing or thermal bonding techniques.
Wiring Technical Snapshot:
- Core Focus: Professional-grade mechanical and thermal restoration of degraded automotive wiring harnesses.
- Target Scope: 12V/24V direct-current automotive circuits, diagnostic troubleshooting, and connector pin-out rebuilding.
- Key Recommendation: Always utilize dual-wall adhesive heat shrink and calibrated ratcheting crimpers over basic non-insulated pliers.
Core Principles and Detailed Overview
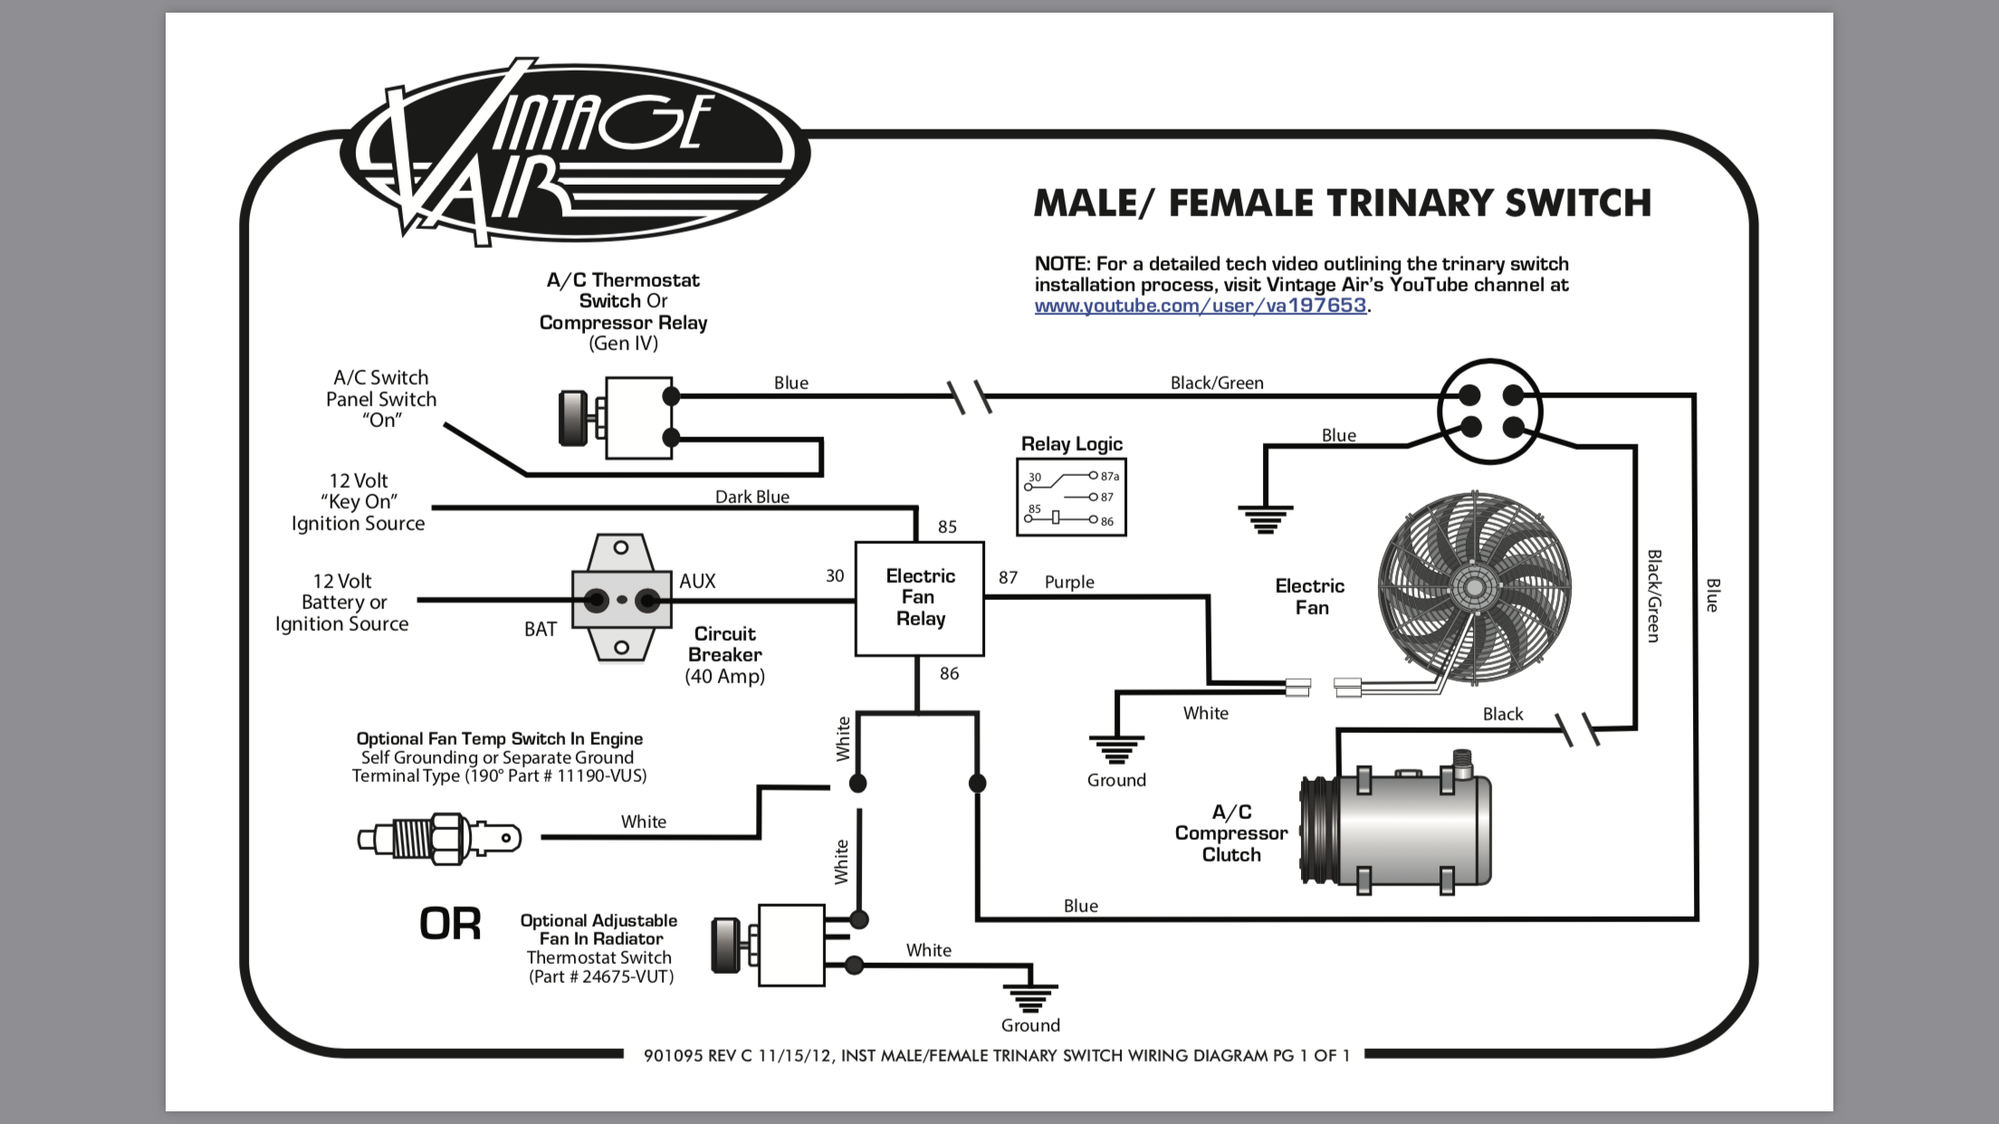
An auto wire repair kit operates on the fundamental engineering principle that every 12V/24V circuit requires minimal voltage drop, mechanical strain relief, and absolute environmental sealing to survive under-hood thermal cycles and vibration. Technicians rely on detailed Wiring Troubleshooting methodologies alongside precise schematics found in Relay and Component Wiring Diagrams to isolate high-resistance shorts, oxidized terminals, and fractured copper strands. Utilizing mismatched wire gauges or substandard connectors introduces excessive electrical resistance, generating localized heat that can compromise surrounding wire insulation and trigger intermittent component faults. Modern diagnostic kits eliminate guesswork by providing standardized color-coded terminals matching specific American Wire Gauge (AWG) dimensions, ensuring that current-carrying capacity remains entirely uncompromised across repaired segments.
Key Specifications and Breakdown
| Circuit / Terminal | Standard Wire Color / Gauge | Operational Role & Safety Check |
|---|---|---|
| High-Current Power Feed | Red / 10-12 AWG | Transfers battery power to heavy-duty accessories; verify continuity and zero voltage drop via multimeter under load. |
| Standard Signal Circuit | Yellow or Blue / 14-18 AWG | Carries sensor and actuator data; inspect insulation for cracking and verify sensor reference voltage. |
| Chassis Ground Return | Black or Brown / 12-16 AWG | Completes the low-side return path to battery negative; test for oxidation and resistance below 0.1 ohms. |
Electrical conductors in automotive environments must be mechanically secured and environmentally sealed to prevent catastrophic thermal events, pursuant to standard safe wiring practices — National Fire Protection Association (NFPA)
Step-by-Step Practical Application and Guidelines
Restoring a compromised harness using an auto wire repair kit demands a strict sequence of stripping, mechanical crimping, and thermal sealing to guarantee long-term electrical reliability. First, isolate the battery power supply and reference the applicable layout within Wiring Diagram Basics to identify the exact circuit path and surrounding components. Strip precisely six to eight millimeters of insulation using a calibrated wire stripper, taking absolute care not to nick or score the fine stranded copper core. Insert the bare conductor fully into the barrel of the adhesive-lined butt connector or pin terminal, ensuring no stray strands escape. Engage a calibrated ratcheting crimp tool matching the terminal color code and squeeze until the internal cycle completes and releases. Finally, apply a controlled heat source evenly across the dual-wall polyolefin tubing until the internal thermoplastic adhesive melts and flows out uniformly around the wire jacket, locking out moisture and corrosive road salts.
Common Challenges and How to Avoid Them
Common field failures during wire repair stem from under-crimping, overheating thermal shrink components, or bypassing accurate circuit identification before cutting into factory bundles. Technicians frequently mistake superficial insulation damage for minor cosmetic flaws, failing to realize that micro-fractures in internal copper strands reduce current capacity and induce dangerous thermal resistance over time. Avoiding these pitfalls requires systematic multimeter testing before and after the repair, verifying that circuit resistance matches manufacturer specifications and that all diagnostic trouble codes clear from the vehicle control module. Furthermore, integrating proper schematic references from General and Miscellaneous Wiring Diagrams prevents accidental splicing into multiplexed data networks where improper resistance values can crash communication modules entirely.
💬 Frequently Asked Questions
Explore More Wiring Diagrams and Schematics on ReadWires
Mastering automotive electrical diagnostics and reliable harness restoration empowers technicians and enthusiasts to resolve complex electrical gremlins efficiently. Continue expanding technical expertise by exploring comprehensive schematics, instructional guides, and reference libraries available directly at ReadWires.com.
Visual Reference Gallery