The 2007 Honda CRV wiring diagram is an essential tool for anyone performing electrical repairs or modifications on this vehicle. This detailed schematic provides a visual representation of the vehicle’s electrical system, showing how each component is interconnected. Its a blueprint that guides you through the intricate network of wires, connectors, and modules that power and control the CRV’s various functions. Without it, diagnosing electrical issues can become a frustrating and time-consuming process, potentially leading to incorrect repairs and further damage.
The importance of having access to the correct 2007 Honda CRV wiring diagram cannot be overstated. Modern vehicles are increasingly reliant on complex electrical systems, making accurate information critical for troubleshooting. Trying to guess at the wiring configurations or relying on generic diagrams can lead to misdiagnosis, wasted effort, and even damage to sensitive electronic components. A specific diagram ensures that you are working with the correct circuits, wire colors, and component locations, significantly improving the accuracy and efficiency of your electrical work.
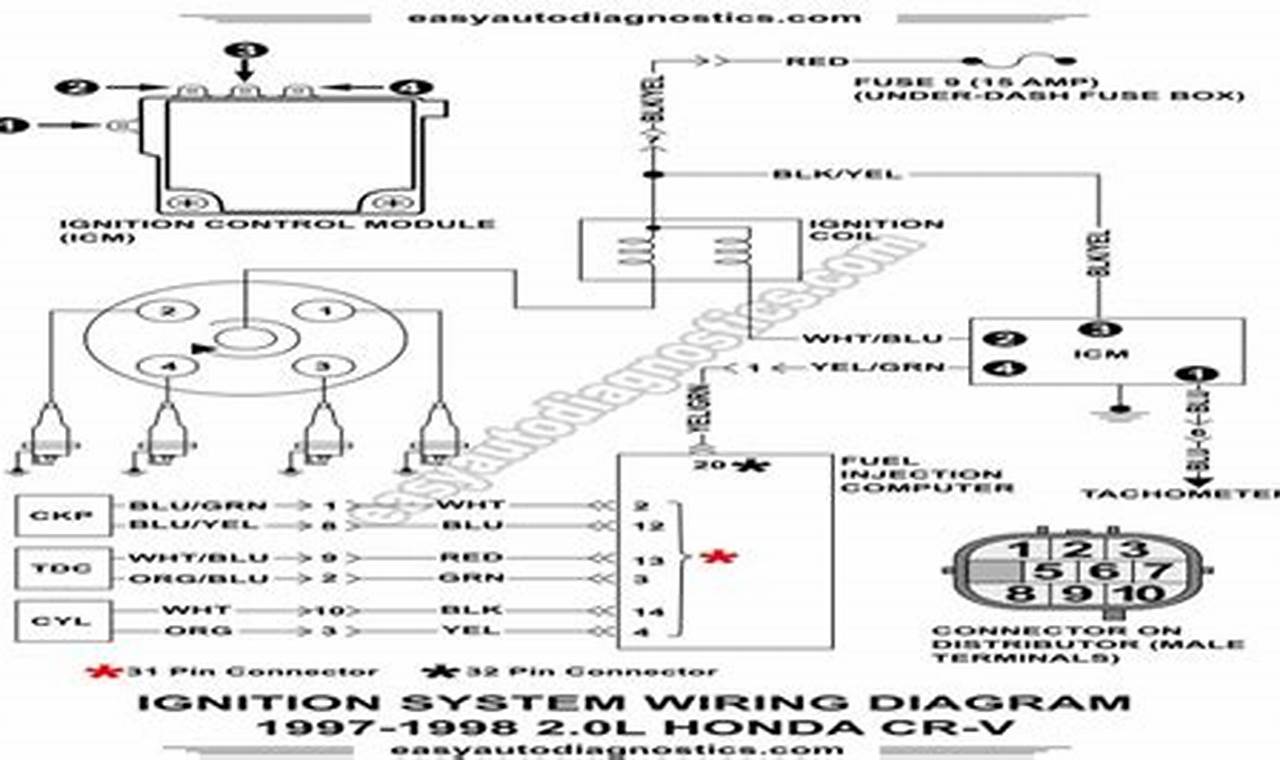
A typical 2007 Honda CRV wiring diagram is organized into several sections, often categorized by specific vehicle systems such as the engine management system, lighting system, or anti-lock braking system (ABS). Each circuit is represented by lines, symbols, and alphanumeric codes. The lines indicate the wiring pathways, while the symbols represent various components such as sensors, switches, relays, and fuses. Alphanumeric codes are used to identify the specific wires, connectors, and components within the circuit. Understanding this structure is the first step toward effectively using the diagram.
Learning to read a 2007 Honda CRV wiring diagram involves understanding the symbols and conventions used. Each symbol represents a specific electrical component, and common symbols include resistors, capacitors, diodes, transistors, and various types of sensors and actuators. The diagram also uses color codes to identify individual wires, allowing you to quickly trace a circuit and identify potential problem areas. Start by identifying the specific circuit you’re interested in and trace the connections between components. Pay close attention to the wire colors, connector locations, and any notes or annotations provided on the diagram. Cross-referencing the diagram with the actual wiring in the vehicle will help you build confidence in your ability to interpret the information correctly.
When working with a 2007 Honda CRV wiring diagram, it’s essential to take certain precautions. Always disconnect the vehicle’s battery before working on any electrical circuits to prevent accidental shorts or electrical shocks. Use appropriate tools and equipment, such as a multimeter, to test circuit continuity and voltage levels. Double-check your work to ensure that all connections are secure and correctly installed. If you are unsure about any aspect of the wiring diagram or the repair process, consult a qualified automotive technician.
In conclusion, the 2007 Honda CRV wiring diagram is a valuable resource for diagnosing and repairing electrical issues on this vehicle. By understanding its structure, symbols, and conventions, you can effectively trace circuits, identify potential problems, and perform accurate repairs. Always prioritize safety and take the necessary precautions when working with electrical systems. With the right knowledge and tools, you can confidently tackle electrical repairs and modifications on your 2007 Honda CRV.
